The Truth About Sterilizing Baby Bottles: What Actually Matters (And What Doesn’t)
I’ll never forget the exhausted mom who messaged me at 2 AM, completely panicked because she’d accidentally used a bottle she hadn’t sterilized since that morning. Her three-month-old was sleeping peacefully, but she was absolutely convinced she’d made a terrible mistake. I told her to take a breath. Her baby was almost certainly fine.
After a decade of working with new parents, I’ve seen this exact scenario play out hundreds of times. The anxiety around sterilization? It’s so real. And honestly, most of it is totally unnecessary. But I get why the confusion exists. You’ve got conflicting advice coming from grandparents, mommy blogs, and even some outdated pediatric guidelines. It leaves parents drowning in uncertainty.
Let’s clear something up right away. Understanding how to sterilize baby bottles matters, but probably not in the way you’ve been told. Most parents obsess over the wrong risks, and the actual science behind infant immunity tells a pretty different story than the one that keeps you boiling bottles at midnight.
In this guide, I’m going to walk you through what pediatricians actually recommend, which methods work best (spoiler: the fanciest option isn’t always the winner), and perhaps most importantly, when you can finally stop sterilizing altogether. By the end, you’ll have a realistic, science-backed approach that protects your baby without stealing hours from your already-packed day.
When Sterilization Actually Matters: The Immune System Timeline from Newborn to 12 Months
Your baby’s immune system isn’t static, and that’s what most parents miss. It’s developing rapidly, and what’s appropriate for a two-week-old looks completely different from what a seven-month-old needs.
The First Four Weeks: Highest Risk Period
During this window, sterilization genuinely matters. A newborn’s gut is still colonizing with beneficial bacteria, and their immune response is pretty limited. Any harmful bacteria introduced through feeding equipment can potentially cause infections. I recommend sterilizing every bottle after each use during this phase. No shortcuts here.
One to Three Months: Transition Zone
By now, your baby’s immune system is getting stronger, but they’re still vulnerable. I typically suggest continuing regular sterilization, though once daily is usually sufficient for healthy, full-term babies rather than after every single feed.
Three to Six Months: Building Immunity
At this stage, your baby has developed significant immune protection. For healthy babies, thorough cleaning with hot soapy water often replaces the need for constant sterilization. [Link: how to properly wash baby bottles]
Six to Twelve Months: Near Adult-Level Protection
Once your baby starts exploring the world, putting toys in their mouth, and possibly eating solid foods, their immune system handles everyday bacteria quite well. Regular sterilization becomes optional for most families at this point.
Now, this changes if your baby was premature, has immune conditions, or has recently been ill. These situations may require extended sterilization periods. Not sure if that applies to you? Always check with your pediatrician.
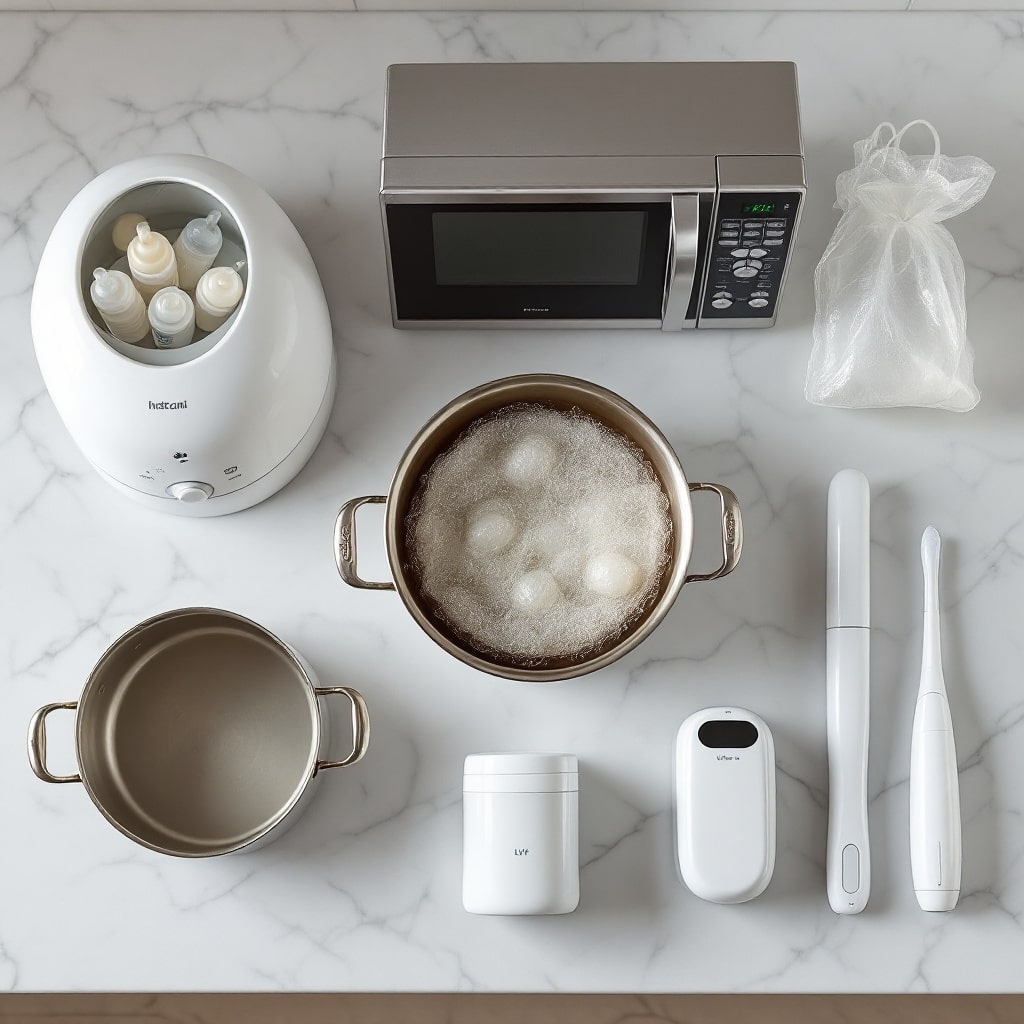
The 5 Best Methods to Sterilize Baby Bottles: Steam vs. Boiling vs. Microwave vs. UV vs. Cold Water Tablets Compared
Not all sterilization methods are created equal. I’ve tested each of these extensively, both in controlled settings and in the absolute chaos of real family homes. Here are the honest pros and cons.
1. Electric Steam Sterilizers
Dedicated machines using high-temperature steam to kill bacteria. Most cycles take 5 to 10 minutes, and bottles stay sterile inside the closed unit for up to 24 hours.
Consistent results and hands-off operation make these perfect for establishing a daily routine with clean baby feeding equipment. On the downside, they eat up counter space, require electricity, and the cost adds up. Some models also leave bottles wetter than others, which gets annoying fast.
Best for: Parents who sterilize daily and have dedicated kitchen space.
2. Boiling Water Method
The original approach. Submerge bottles and parts in boiling water for at least five minutes.
Zero cost and no special equipment needed. This remains the most effective way to sterilize baby bottles without a sterilizer. The drawbacks? You’ve got to watch the pot, parts can get damaged from direct heat contact, and it’s not practical for frequent use throughout the day.
Best for: Occasional sterilization, travel, or budget-conscious families.
3. Microwave Steam Sterilizers
 Containers that create steam using water and your microwave’s power. Cycles typically run 2 to 8 minutes depending on wattage.
I actually reached for my microwave sterilizer constantly when traveling with families last year. Fast, affordable, compact, and surprisingly effective. Just know that you need your microwave’s wattage for accurate timing, and not all bottle materials are microwave-safe. Check first.
Best for: Parents wanting quick, space-efficient sterilization.
4. UV Sterilizers
Ultraviolet light kills bacteria without water or heat. These are becoming increasingly popular for sterilizing pacifiers and smaller items.
Great for sanitizing breast pump parts and disinfecting baby toys alongside bottles. However, they’re less effective on items with complex shapes or crevices where light can’t reach. They also cost more upfront.
Best for: Tech-loving parents or those wanting to disinfect mixed items.
5. Cold Water Sterilization Tablets
Dissolve tablets in cold water, submerge items for the recommended time (usually 30 minutes), and you’re done.
No electricity or heat needed, making these perfect for travel or power outages. But the process takes longer, leaves a faint chemical taste some babies flat-out reject, and requires replacing the solution every 24 hours.
Best for: Travel, camping, or as a backup method.
How to Sterilize Without a Sterilizer: Proven Chemical-Free Methods for Home and Travel
Not everyone needs a dedicated sterilizer. In fact, I often recommend parents skip the purchase entirely if they’re willing to use these reliable alternatives.
The Boiling Method (Done Right)
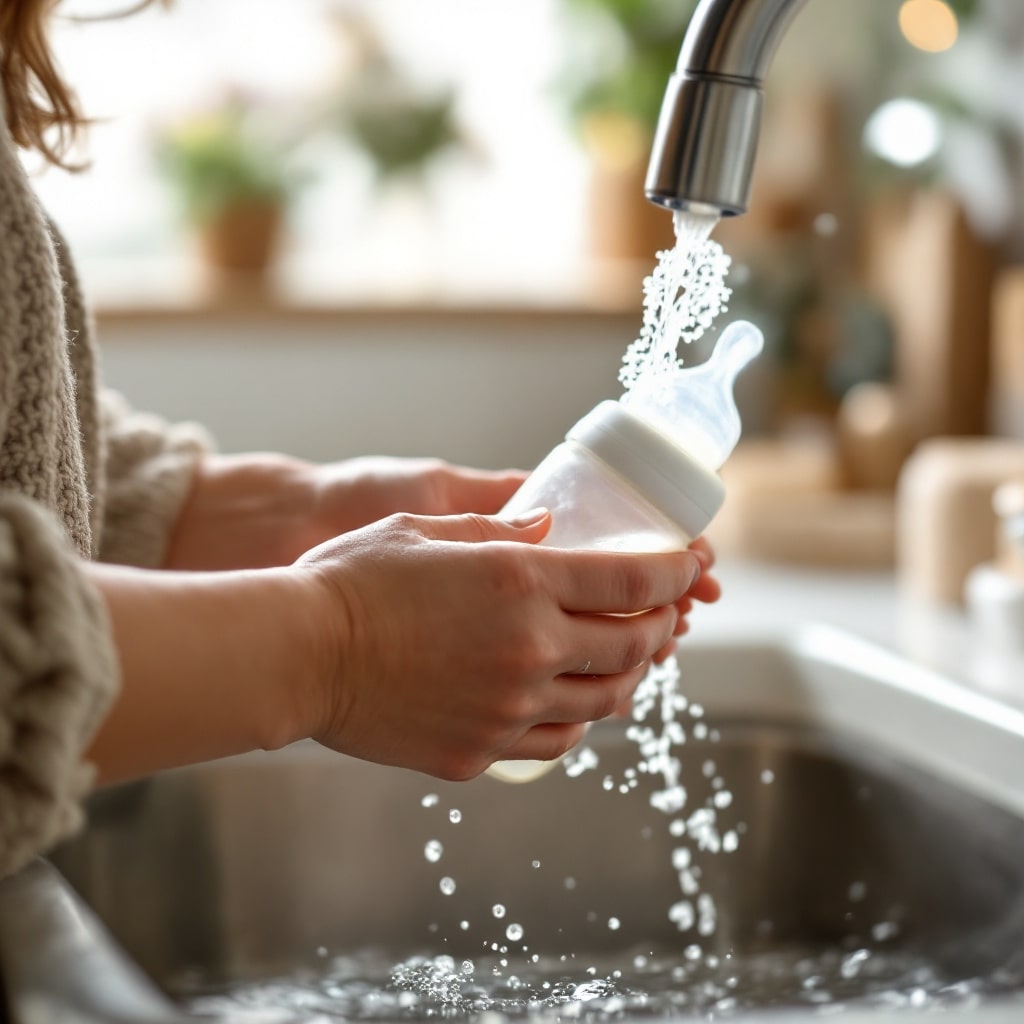
Fill a large pot with enough water to completely cover all items. Bring to a rolling boil, then carefully add bottles, nipples, and rings using tongs. Keep at a boil for at least five minutes. Remove items with clean tongs and place on a clean dish towel to air dry.
Pro tip: Glass bottles handle this better than plastic over time. If you’re using plastic, check for BPA-free labeling and watch for warping.
The Stovetop Steam Approach
Place a steamer basket in a pot with a few inches of water. Add bottles and parts, cover, and let steam for 10 to 15 minutes once the water boils. Gentler on materials than direct boiling, which your bottles will thank you for.
How to Sterilize Pacifiers When Traveling
Away from home? Boiling water from a hotel kettle works in a pinch. Pour boiling water over the pacifier in a clean mug, let sit for five minutes, and remove with a clean utensil. Some parents carry a small microwave sterilizer bag specifically for this purpose. Smart, right?
Road trips require different planning. I suggest packing sterilization tablets and a sealable container. It’s the most portable option when you won’t have reliable access to a microwave or stovetop.
Beyond Bottles: Sanitizing Pacifiers, Breast Pump Parts, and Toys the Right Way
Bottles get all the attention, but they’re definitely not the only things going in your baby’s mouth.
Pacifiers
Follow the same protocols as bottles for newborns. After four months? Running them through the dishwasher or washing with hot soapy water is usually sufficient. And yes, that old advice about “cleaning” a dropped pacifier by popping it in your own mouth? Surprisingly, research suggests this might actually help develop your baby’s immune system. Wild, I know. Though I still recommend washing when possible.
Breast Pump Parts
CDC guidelines are clear here: wash all parts that contact breast milk after every use with hot soapy water and allow to air dry. Sterilizing once daily is recommended for babies under three months, immunocompromised infants, or when sanitizing breast pump parts hasn’t happened in a while.
Baby Toys
Approach sanitizing baby items based on material:
- Hard plastic toys: Wash with hot soapy water, rinse thoroughly, and air dry. Many items work fine on the dishwasher top rack.
- Fabric toys: Machine wash in hot water when possible.
- Wooden toys: Wipe with a damp cloth. Don’t submerge. Seriously, don’t.
- Electronic toys: Wipe with a slightly damp cloth, focusing on surfaces baby mouths.
Want to know the best way to sanitize baby toys without chemicals? Hot water and regular soap. That’s it. Skip the antibacterial products. They’re unnecessary for most situations and may contribute to antibiotic resistance.
How Often Should You Actually Sterilize? A Realistic Schedule Based on Your Baby’s Age and Health
This is where I see the most unnecessary stress, so let me give you some straightforward guidance.
Newborn to 3 Months (Healthy, Full-Term)
First use: Always sterilize new bottles before first use. Removes manufacturing residues. Non-negotiable.
Ongoing: Sterilize all feeding equipment once daily. Thorough washing with hot soapy water between feeds is totally fine.
3 to 6 Months (Healthy Babies)
Sterilize: Once daily or every few days is reasonable for most families.
Focus on: Good washing practices. Hot water, dish soap, bottle brush, thorough rinsing, and air drying.
6 to 12 Months (Healthy Babies)
Sterilize: Weekly is usually plenty. Some families stop entirely around this age.
What matters more: Proper washing and drying. Bacteria love moisture.
When to Sterilize More Frequently
Certain situations call for extra vigilance. Has your baby been sick, especially with gastrointestinal issues? Was formula left out too long, or wasn’t the bottle washed promptly? Are you using well water? Was your baby premature or do they have immune concerns? Are you traveling to areas with questionable water quality? Any of these warrant more frequent sterilization.
How Often Should You Sterilize Baby Bottles? The Bottom Line
I’ll be honest with you: for healthy babies over six months with no risk factors, thorough cleaning matters way more than sterilization. Good hygiene habits trump obsessive sterilizing every single time.
Let’s wrap this up with what you actually need to remember.
Your Quick Reference Guide:
- New bottles: Sterilize before first use. Always.
- Newborns (0 to 3 months): Sterilize daily, wash thoroughly between feeds.
- 3 to 6 months: Sterilize every few days, maintain good washing habits.
- 6 to 12 months: Weekly sterilization or stop entirely for healthy babies.
- After 12 months: Most pediatricians agree you can stop sterilizing. Just keep washing thoroughly.
When Should You Stop Sterilizing Baby Bottles?
Many families with healthy, full-term babies safely stop somewhere between 6 and 12 months. And honestly, by the time your baby is crawling around licking the floor (they all do it, trust me), sterilizing bottles becomes somewhat redundant.
Remember that 2 AM mom I mentioned? She messaged me the next morning. Her baby woke up happy, hungry, and completely fine. She told me she’d spent the whole night Googling worst-case scenarios instead of sleeping. Don’t be her. Or rather, if you are her right now, know that you’re doing better than you think.
Perfect is the enemy of good enough. Reasonable hygiene protects your baby. Obsessive sterilization just exhausts you. Your baby needs a present, rested parent more than they need a sterile bottle at midnight.
Trust your instincts, follow the basic guidelines, and give yourself permission to relax a little. You’ve got this.